


May 30, 2019
1. KESS V4.036 only supports car, KESS V5.017 can support car/truck/tractor/Bike !
And V4 support cars only untill 2014, but V5 supports vehicle accroding to Engine.
So V5.017 can support newer vehicle !
2. KESS V4.036 no token limited for some car, has token limited for some other car.
KESS V5.017 has no token limited for all vehicles ! So V5.017 is for lifelong use!
3. KESS V4.036 some protocols are grey, KESS V5.017 is fully open for all software protocols.
Kess V5.017 works well for EDC17/k-line/DSG/DQ200 DQ250 DQ500 Gearbox/ST10…. !
4. KESS V4.036 can not connect internet, KESS V5.017 can connect internet ! Online Operation !!!
Newest Kess V5.017 Online Version KESS 5.017 No Token Limit V2.23 Kess V2 OBD2 Manager Tuning Kit Car Truck ECU Programmer
Top 7 Reasons To Choose Our KESS V2 V5.017:
1. KESS V5.017 can support car/truck/tractor/Bike ! KESS V5 supports vehicle accroding to Engine. So V5.017 can support newer vehicle !
2.KESS V5.017 is 100% no token limited for all vehicles ! So V5.017 is for lifelong use!
3.KESS V5.017 is fully open to all protocols such as EDC17/k-line/DSG/DQ200 DQ250 DQ500 Gearbox/ST10…., No Grey protocols anymore !
4. KESS V5.017 software is very easy to install, just click: Next Step, then it can works well!!!
5.KESS V5.017 can connect internet ! Support Online Operation !
6. KESS V5.017 can do more 140 kinds vehicle types or protocols than KESS V4.036

Kess V2 V5.017 can Read and write ECU via OBD2 port directly, no need disassemble ECU from the car, easy to use.
With coverage of all major brands and protocols including Line, CAN, EDC17 and MED17 and for Ford J1850.
Kess V2 is everyt hing you need to work as a successful tuner at a very affordable price.
Posted by: Emily white at
06:45 AM
| No Comments
| Add Comment
Post contains 306 words, total size 3 kb.
May 29, 2019
In this post, I want to share a successful experience from a customer. He updated his Opel/Vauxhall CD30/CD30 MP3 to CDC40 with the Tech 2 Scanner which bought from obd2tool. The following is his guide and help Opel owners to have advanced Audio display.
Tools you will need:
GM Tech2 Diagnostic Tool Opel 32MB card or OP-COM CAN OBD diagnostic interface
Blaupunkt car CDC40
How to:
Turn on the dashboard
Connect Car Diagnostic Tool Tech2 scanner to Opel/ Vauxhall OBD port by using the OBD2 cable
Turn ignition ON
Disable below anti-theft protection modules with Tech2 scanner by following steps
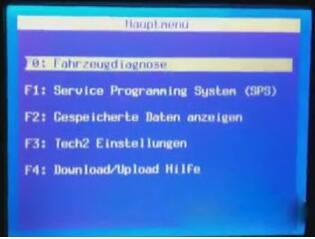
EHU -> Code Index -> 001_02
Enable the anti-theft protection:
GID / CID
UHP
EHU
Turn off the dash and disconnect Tech2 scanner
Remove the CD30 / CD30 mp3 using the appropriate accessories. You will need to disconnect the antenna wire and the connector big loosening the locking device that engages in the lower part of the connector
Replace the original antenna with the appropriate terminal for receiving digital signals:
Unscrew the existing antenna
Disconnect the sky (just ask for details)
Unscrew the nut holding the antenna base
To avoid replacing the entire cable I suggest you remove it from the antenna and then connect the old to the new
Connect to your CDC40 connecting the connector and the antenna wire.
Enter the CDC40 in his quarters, making sure that the connector wire remains free.
Turn the ignition on.
The CDC40 will turn on and begin to "bipâ€, the display will alternate "Display SAFEâ€, "Radio SAFE†and "UHP SAFEâ€.
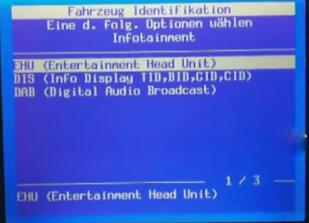
Program with the Tech2 scan tool EHU and set all the values to "Not Presentâ€
GID Present
UHP Present
ECC Present
DAB Present
EHU Present
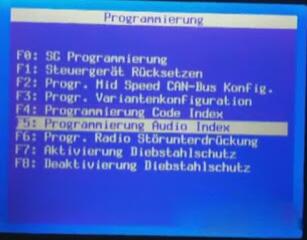
Program with the Tech2:
EHU -> Code Index -> 001_02
Enable the protection (anti-theft) of:
GID / CID
UHP
EHU
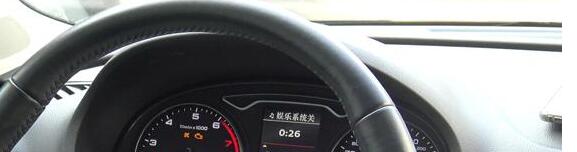
The radio will reboot and the screen will show "head unit protectionâ€.
Press and hold the Eject button on the CD until you hear a ratcheting noise. This step serves to unlock the transport lock.
Done.
Posted by: Emily white at
02:55 AM
| No Comments
| Add Comment
Post contains 351 words, total size 4 kb.
May 19, 2019
[Done] 2014 Audi A3 MQB odometer correction via OBD with OBDSTAR X300 DP PLUS. This post comes with the step by step procedure.
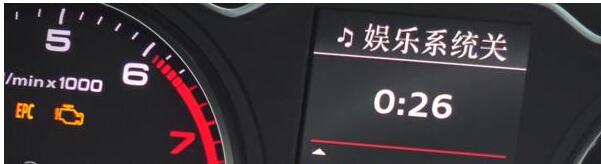
2014 Audi A3 with MQB.
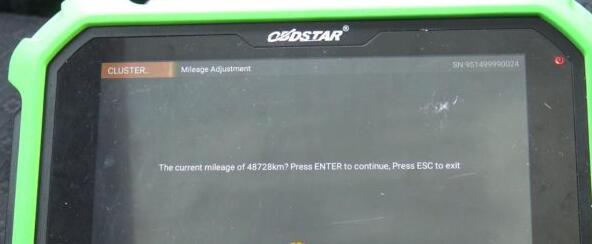
Current value: 48728KM on the dashboard.
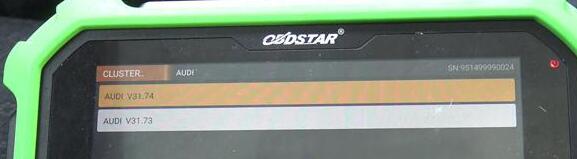
Plug OBDSTAR key master DP Plus to the OBD port of Audi A3, boot the machine, tap †Immobilizerâ€, then "Audiâ€, newest "Audi V31.74â€.
Initializing…
Initializing diagnostic data…
Authorizing…
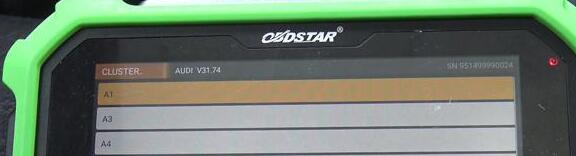
Tap "A3â€.
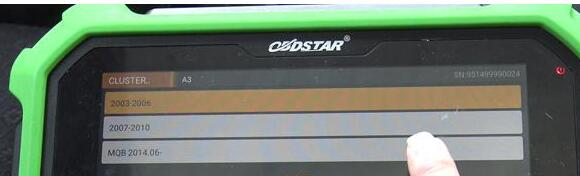
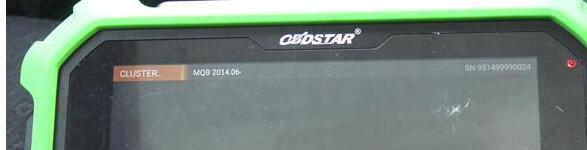
Tap †MQB 2014.06 -â€
Read the message "Only MQB dashboard of Continental and VDO supportedâ€.
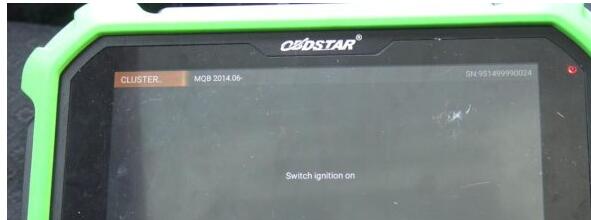
Switch ignition on.
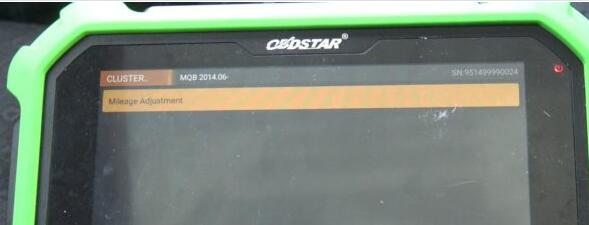
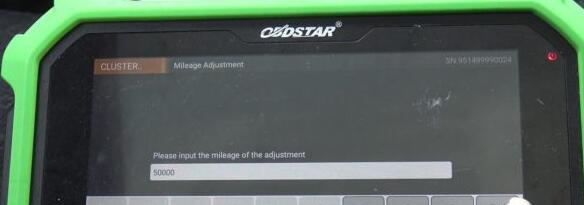
Mileage adjustment.
Confirm the current mileage is 48728KM.
Input 50000.
Communicating…
Logging in system…
Data backup…
Adjust Success…
Have 50000KM on the dashboard.

Done.
Don’t you think it is so easy to adjust mileage for 2014 Audi A3 with OBDSTAR DP Plus.
FYI, OBDSTAR DP Plus (in orange color) = OBDSTAR Key master DP (in green color)
Posted by: Emily white at
05:20 AM
| No Comments
| Add Comment
Post contains 150 words, total size 5 kb.
May 11, 2019
PCM Flash clone is confirmed to work for 3 types of Bosch Infineon ECU:
1) The Infineon ECU before TPROT8.
2) TPROT 8-10
3) The Infineon ECU after TPROT10 which is what we call GPT encrypted.
Today, we’ll talk about how to read TPROT 8-10 with PCMFlash
For TPROT8-10, he Bosch Company sets the anti-debugging mode, reading EEPROM needs no password and reading Flash needs password.
Therefore, during the reading process, there is an extra CNF1, Boot outputs low level and CNF1 outputs high level. When reading, Boot needs to add one small resistor and ground it. CNF1 to connect one 470ohm-2K resistance, then connect 3.3V, it’s very important, otherwise theAuto ECU Programmer will be burnout.
2 Tips on reading the data:
1) BOOT and CNF1 must be connected when reading data.
2) Only connect BOOT not CNF1 When reading the password, otherwise the password can’t be read out. Also you can follow the Ktag wiring diagram because Ktag controls the CNF1 turn on and off, so it can’t be disconnected. When reading the password, you turn the two switches to the automatic mode, and to the On mode when reading the data, when the software prompts, you choose †Manually†then follow the message to turn on or off.
KTAGwiring diagram help file:
https://mega.nz/#!QNhBCRKR!36B3zt2mu89-gjnh4r9HThNcd2e2WRiBDK4NpL3Jqho
PCM Flash crack software download:
https://share.weiyun.com/5B6iC3q (password: t6dijv)
Tested 100% with PCM Flash china clone
pcmflash-clone
PCMFlahs TPROT8+ vehicle list:
Bosch: BMW TPROT8+
Bosch: VAG TPROT8+
Bosch: Kia/Hyundai/Honda TPROT8+
Bosch: Chrysler/Jeep/Dodge/Fiat TPROT8+ [Test]
…..
Read the encrypted ECU password
Good to know:
The Infineon ECU before TPROT8 is not encrypted, you directly uses the BOOT point
grounding, then follow the Ktag user manual to wire the cable and read the data.
Posted by: Emily white at
02:32 AM
| No Comments
| Add Comment
Post contains 296 words, total size 2 kb.
32 queries taking 0.0439 seconds, 164 records returned.
Powered by Minx 1.1.6c-pink.

